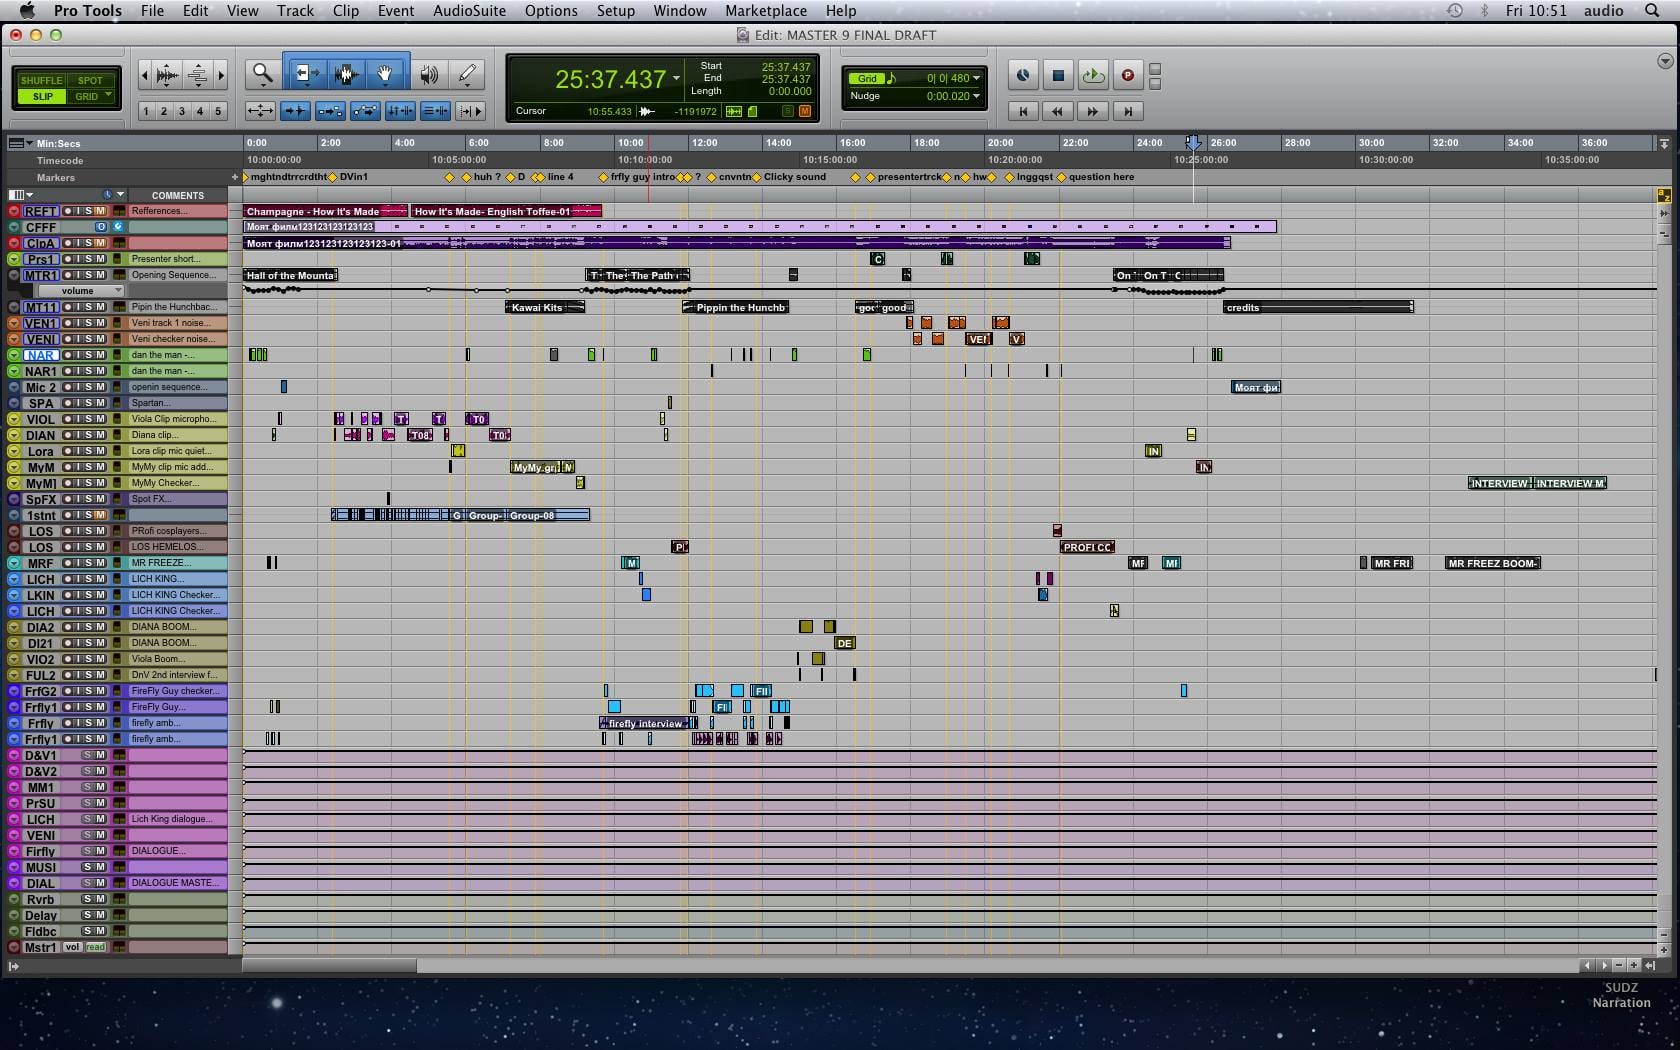
During the rest of the post production process communication with the rest of the crew was key. When I was editing the audio for example I noticed small sequences in the video that did not fit the picture and did not flow correctly with the audio. I quickly made sure that my team knew about that and made notes and markers on my session just to make sure that it will be fixed.
They reacted rapidly as they were also in the process of editing the video. I received the initial sound lock on the 23rd of November 2015 and the corrected one on the 27th of November 2015 and provided a complete audio package on the 7th of December 2015. I put in extra time in the studio just so there is sufficient time to correct any mistakes after we’ve all seen and hear the documentary, or if the director and the rest of the crew wanted something to be changed – submitting/completing my work early was a suggestion from Bryan Rudd who gave us a guest lecture/project case study earlier in the semester which was in relation to Proper Project Management. LO1 + LO5 + LO6
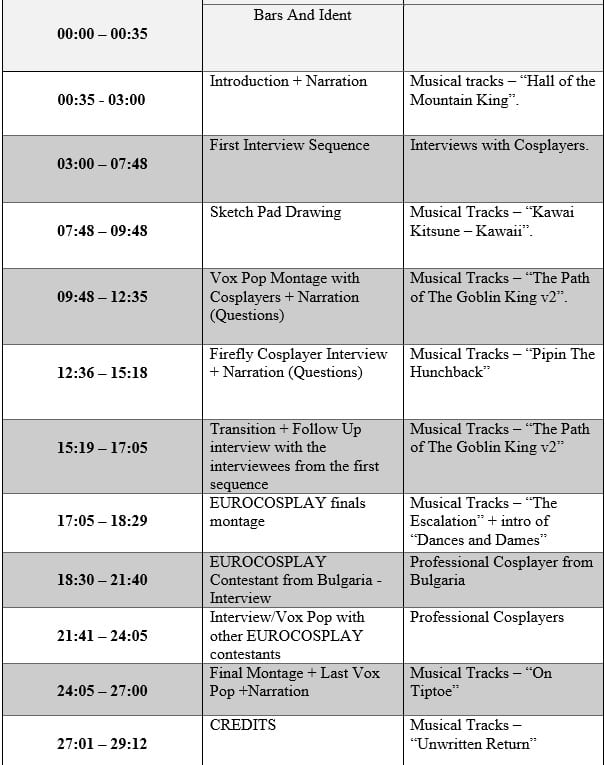
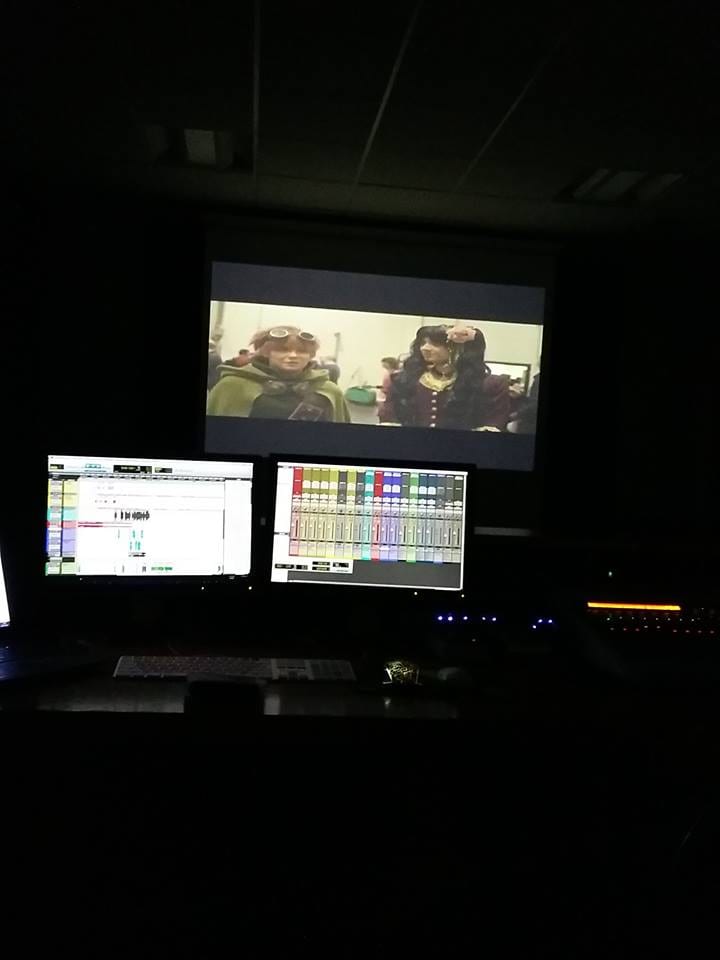
SOUND LOCK & V-O Recordings
Once I received the sound – lock clip with all the interviews and vox pop sequences in place I started working on the remaining dialogue edits (placing the already edited ones from before on the new timeline). Using a technique taught to all Audio Production Students in Levels 1 through 3 called Checkerboarding (taught to us by Chris Hainstock, Grant Bridgeman and also David McSherry in several workshops) I had a better view of the audio clips and this also allowed me to create smoother fades during transitions.
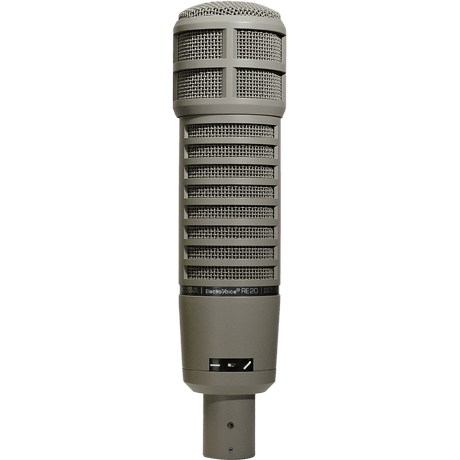
I then contacted Daniel Berry to arrange a date and time to record the voice overs. As he is an Audio Student as well I asked him which microphones he normally works with and which ones fit his voice – We both agreed on the Electro Voice RE 20 Microphone for the narration. This is the microphone he uses when he is presenting on live radio and it also fitted his voice nicely, but most importantly it provided us with a great sound which came very close to the director’s requirements. I decided to use a Shotgun microphone (Sennheiser boom mic) to record the questions after the narrations just to give them more of a “recorded on location” feel/sound.
Ken Blair gave a guest lecture on how to conduct ourselves professionally and I took a few tips into consideration from that talk – During the recording of the voice overs I made sure that Daniel always knew what was going on, I talked to him frequently and brought him water, tea and provided everything he asked for to the best extent I could.
After the VO recordings I continued with the rest of the post production process.
POST-PRODUCTION PREPARATION & VOICE – OVER
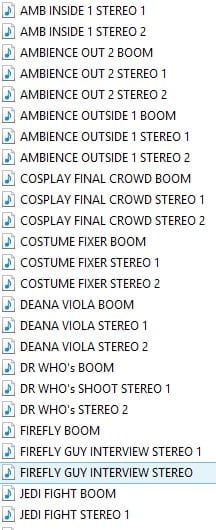
Before receiving a full sound lock clip I started working on the audio clips just to tidy them up. The first step was to listen through all the recorded audio and to label all the clips so it makes my job easier later in the post-production process.
 I also frequently asked for separate clips that were already finished so I can see what needs to be done to that audio clip before hand – this helped with my preparation for the post production process ( I synced 2 to 3 interview sequences and played them to my friends and tutor to receive instant feedback LO6).
In the mean time I also spoke with the Director asking about other documentary productions that she likes the sound of (By suggestion from Lee Gretton who uses the same technique when working on productions for the industry). This way I can have a clear idea of what the director wants from me and I can also use her examples as reference when editing and mixing. We also spoke about the music selection for the feature and decided to go with an overall Epic/Heroic/Magical Feel. I then searched for such musical compositions online and shared my findings with the Director – once we agreed on the tracks we gave them to the editor of the Documentary so that she could edit the montage sequences to the rhythm of the music. All of the tracks are licensed by the Creative Commons (MUSIC LICENCES) and are absolutely free to use as long as they receive a credit at the end of the production. LO1 + LO2 + LO3
Furthermore I suggested we find a narrator for the documentary as there were a lot of sequences that required voice overs and quite a bit of interview footage that needed someone to ask questions. The voice over was provided by Daniel Berry who is another level 3 Audio Production student I had worked with in other film productions. He has a very deep Narrator type voice and is also a Radio presenter with quite a bit of experience in the field. The Director agreed with my choice and gave me another reference point for the narration.
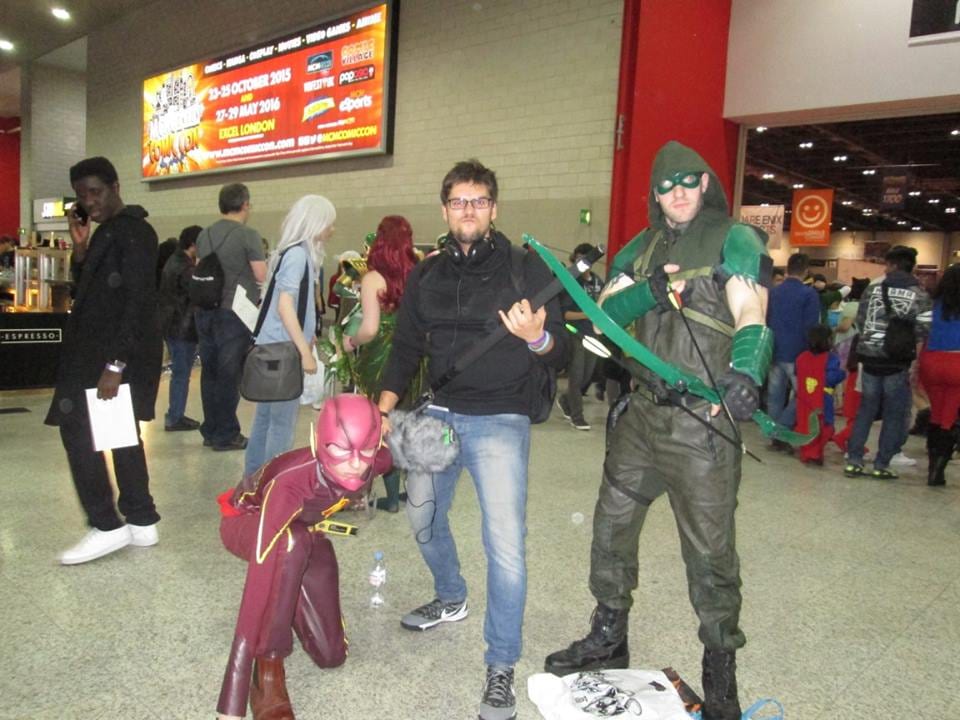
MCM Comic Con London – 24-25.10.2015 – Location Recordings
Before Recording at a bigger and noisier location I did some research. The crew asked me what equipment I will be bringing to the location and I gave them a list informed by several sources.
In an article named “Sound & Sync” in Sound on Sound magazine J G Harding talks about location recordings, equipment and some post production tips. He suggests that taking a separate portable recorder with a hand-held or boom mic produces much higher quality audio rather than recording sound on camera.
Your camera’s on-board mic might be OK for home movies, but using a separate mic and audio recorder will yield much better results
David Mellor LO1 + LO2
That is why I also decided to record the sound separately.
As good examples of location recording kit he gives The Edirol R44 – a high‑quality four‑track portable recorder, with four mic pre-amps and an on‑board mixer in combination with a standard boom mic like a Rhode NTG2 or a Sony ECM CG50.
The equipment I decided to go with was the Sound Devices 633 portable recorder + the Sennheiser MKH416 Rifle Mic with a cradle and wind jammer (covered with a “dead cat” or an extra wind jamming cover). The reason why I went with that choice is that they were available from our media stores and also Location Sound Recordist Grant Bridgeman recommended this equipment during several guest lectures and workshops.
LO1 + LO2
By suggestions from Lee Gretton – Recording/Mixing/Editing Engineer – I also brought along a separate Zoom H4n Portable recorder with a Clip mic so I can record the interviewer who was asking the questions for each vox pop sequence.
The Headphones I used were the AKG K99 Perception series. LO1 + LO2
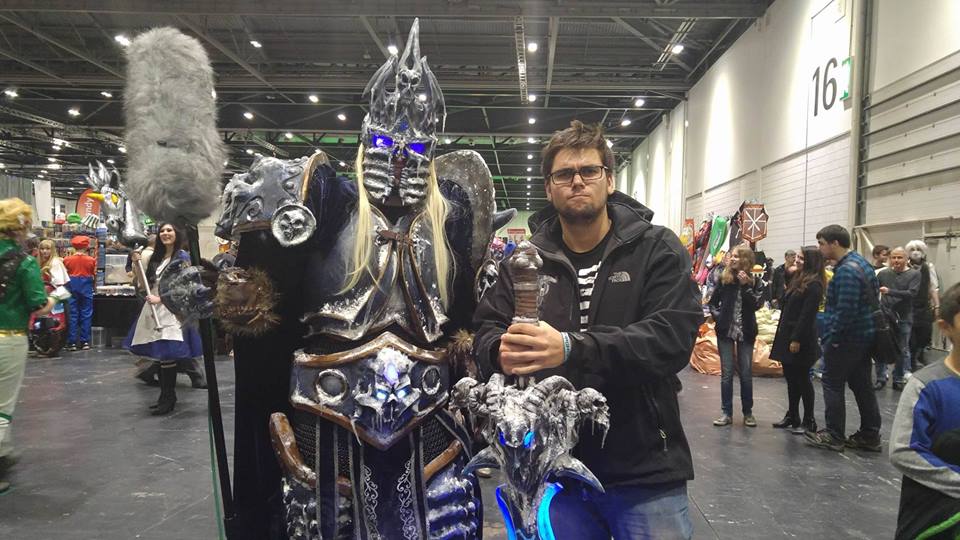
All location recordings went really well, the only issues were that there was an airport nearby and there was extensive crowd noises as it was a pretty big event but we dealt with those issues accordingly – kindly asking interviewees to re-record necessary parts of the interviews for continuity sake.
“Some filming situations can feel a little overwhelming – but you still need to be in control. Don’t be afraid to ask your contributor or presenter to do things again if they can, especially to help you get a nice close-up of that object they are discussing” (Bailey,2015).
I ended up with very good location recordings but the only problem was that the clip mic I put on the interviewer couldn’t handle the windy weather and the noise to dialogue ratio was unfortunately in favor of the noise so the audio was unusable. The solution is a voice-over artist in post production. LO4 + LO5